-
Latham Hi‑Tech Seeds
Ask the Agronomist: Calendar Date vs Soil Temp
-
Latham Hi‑Tech Seeds
Spring Planting: Get it Right From the Start
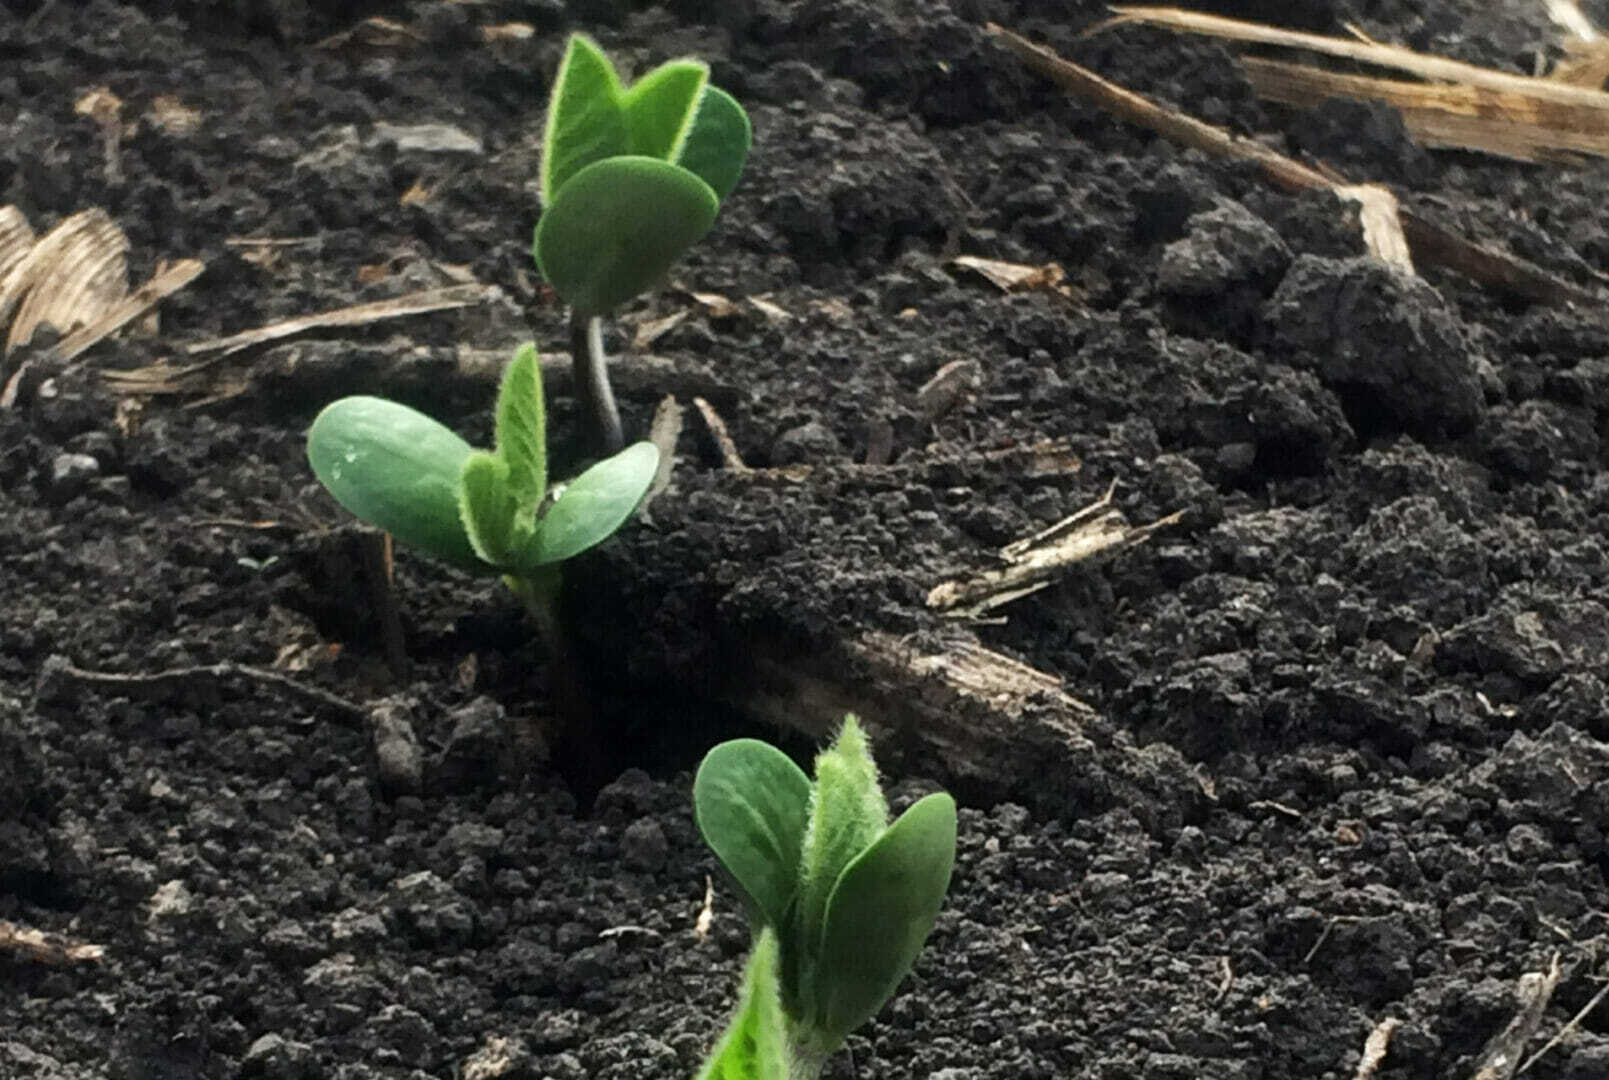
“In farming, you only get one chance every year, so it’s worth it to do it right the first time.”
That statement is so very true. Below are a few things to keep in mind to optimize your corn and soybeans yields:
 Soil Moisture. Working ground when it is too wet leads to slabbing and clodding of the soil, so areas within fields dry at different rates. A kernel of corn imbibes, or takes in, about 30% of its weight in water during germination. When kernels in a row are exposed to varying amounts of soil moisture, their germination rates and emergence will vary from plant to plant. The result is uneven emergence, poor early growth and potentially severe stand loss. Soybeans need more water at germination, taking in about 50% of seed weight on average. As with corn, good seed-to-soil contact is critical, so avoid cloddy conditions.
Soil Temperature. Corn germinates best when soil temperature is close to 50° F. Approximately 120 growing degree units (GDU’s) are required for corn to emerge. During periods of cool temperatures, it can take several days to achieve those GDU’s. Once a corn seed germinates, it can exist for about 14 days on the energy that is contained in the endosperm. Under ideal conditions, the seed will emerge and develop a root system in much less than 14 days. Most researchers agree that soybeans emerge best when the soil temp is 55° F or warmer. Avoid planting soybeans if the temperature is below 55° and a cold rain/weather event is expected within 24 hours after planting.
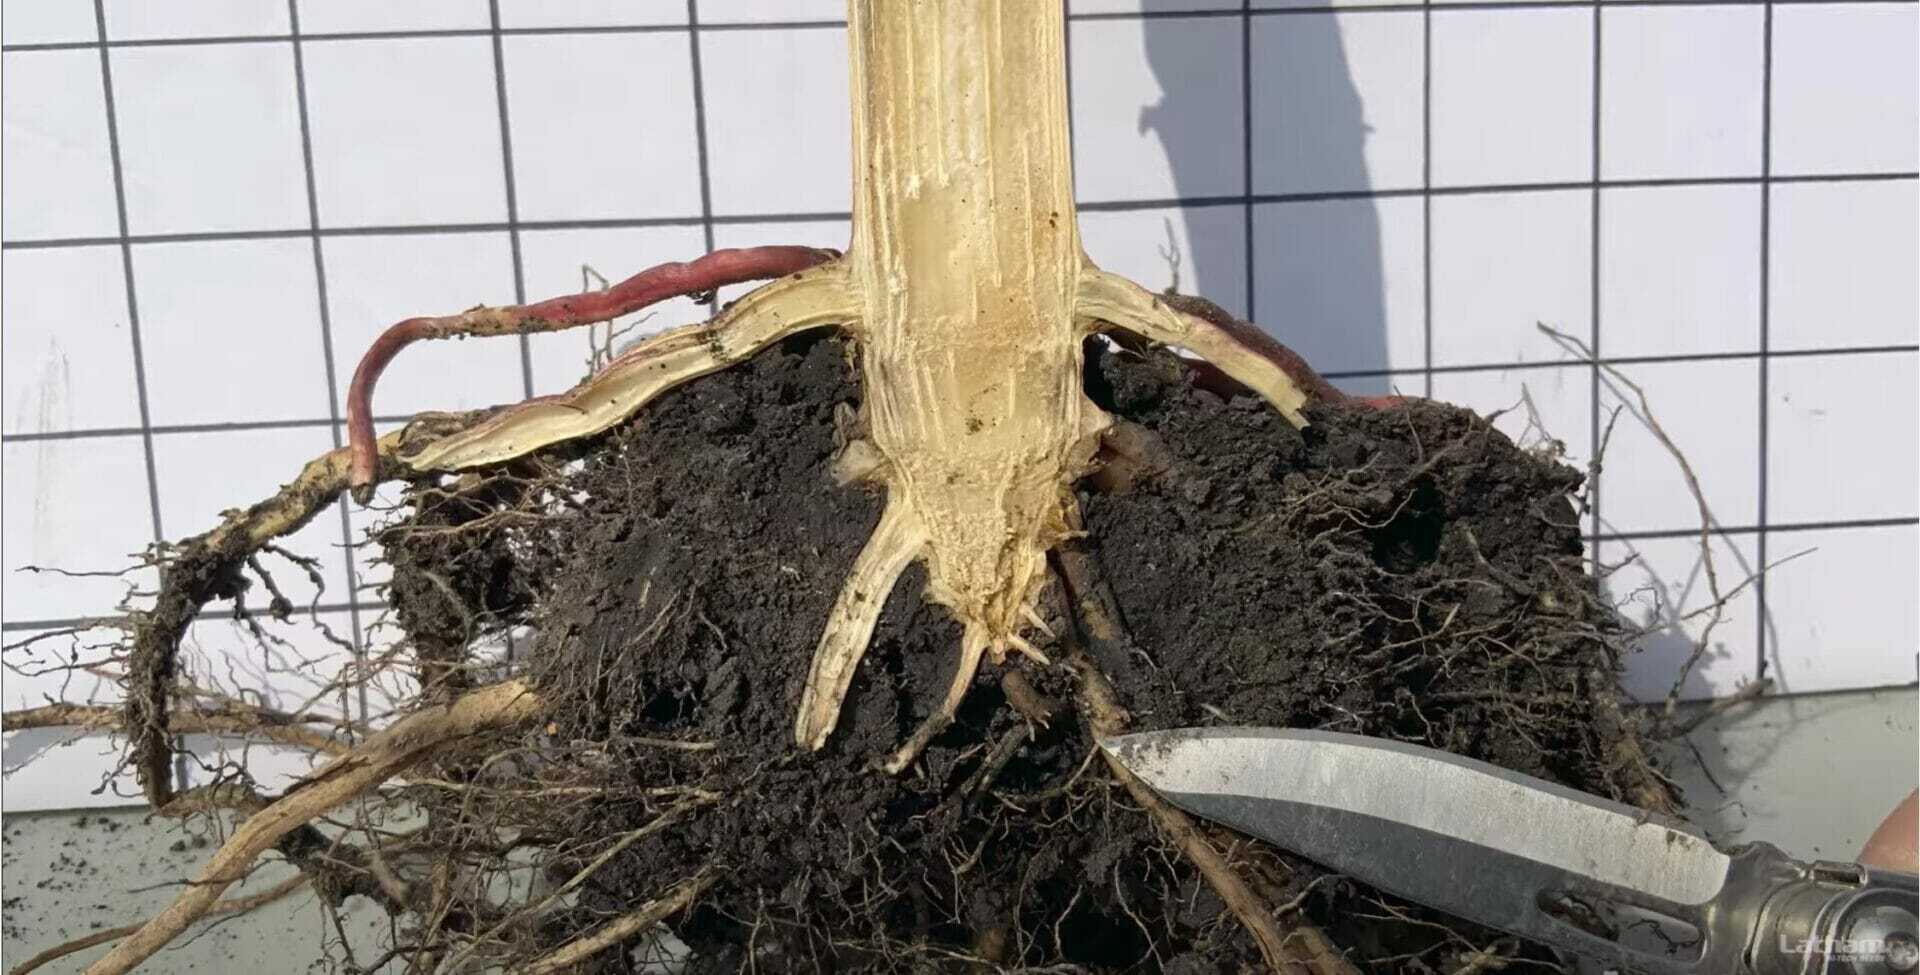
Planting depth: Soybeans respond best when planted at 1¼ to 1½ inches deep and should never be planted deeper than 2 inches! Remember, a soybean seedling must push that cotyledon through the soil as it emerges. The soybean seedling requires much more energy than a corn seedling with its narrow coleoptile (shoot). Target depth when planting corn is 2.5 inches. Planting corn shallow is as bad as planting soybeans too deep because nodal roots will not develop properly and “Rootless Corn Syndrome” may result.
Soybean inoculant: Old-timers say if soybeans have been planted in a field within the past four to five years, then an inoculant is not necessary. However, recent studies and more advanced inoculant formulations show otherwise. Using inoculants in light, sandy soils, as well as weather-stressed (flood, drought, etc.) fields have shown increased plant health and improvements in overall yield. Consider running side-by-side trials on your farm to see if inoculants will work for you.
Problems like sidewall compaction, surface crusting, herbicide injury, seedling insects and seedling diseases can all lead to delayed plant and root development. These, and many others, can all cause uneven emergence and poor stands in corn and soybean. That’s why it’s important to control what you can to set up your crops for success!
Stay safe this planting season. Did you enjoy this article? We want to (TECH)talk with you! Sign up for our newsletter to receive agronomy videos, articles (and delicious recipes) in your inbox! We’ll TALK soon.
-
Latham Hi‑Tech Seeds
#AsktheAgronomist: What is Optimal Planting Depth for Corn?
Join Corn Product Manager Lyle Marcus and Pre-Commercial Development Manager Bob Foley as they discuss optimal planting depth for corn and other considerations for emergence success.
-
Latham Hi‑Tech Seeds
#AsktheAgronomist: How To Reach 100% of Your Yield Potential

Join us on April 1 at 8 AM as we discuss how to reach 100% of your yield potential. Phil Long shares a study across high yield results and finds 5 common denominators.
-
Latham Hi‑Tech Seeds
Tips for Assessing Spring Alfalfa Stands
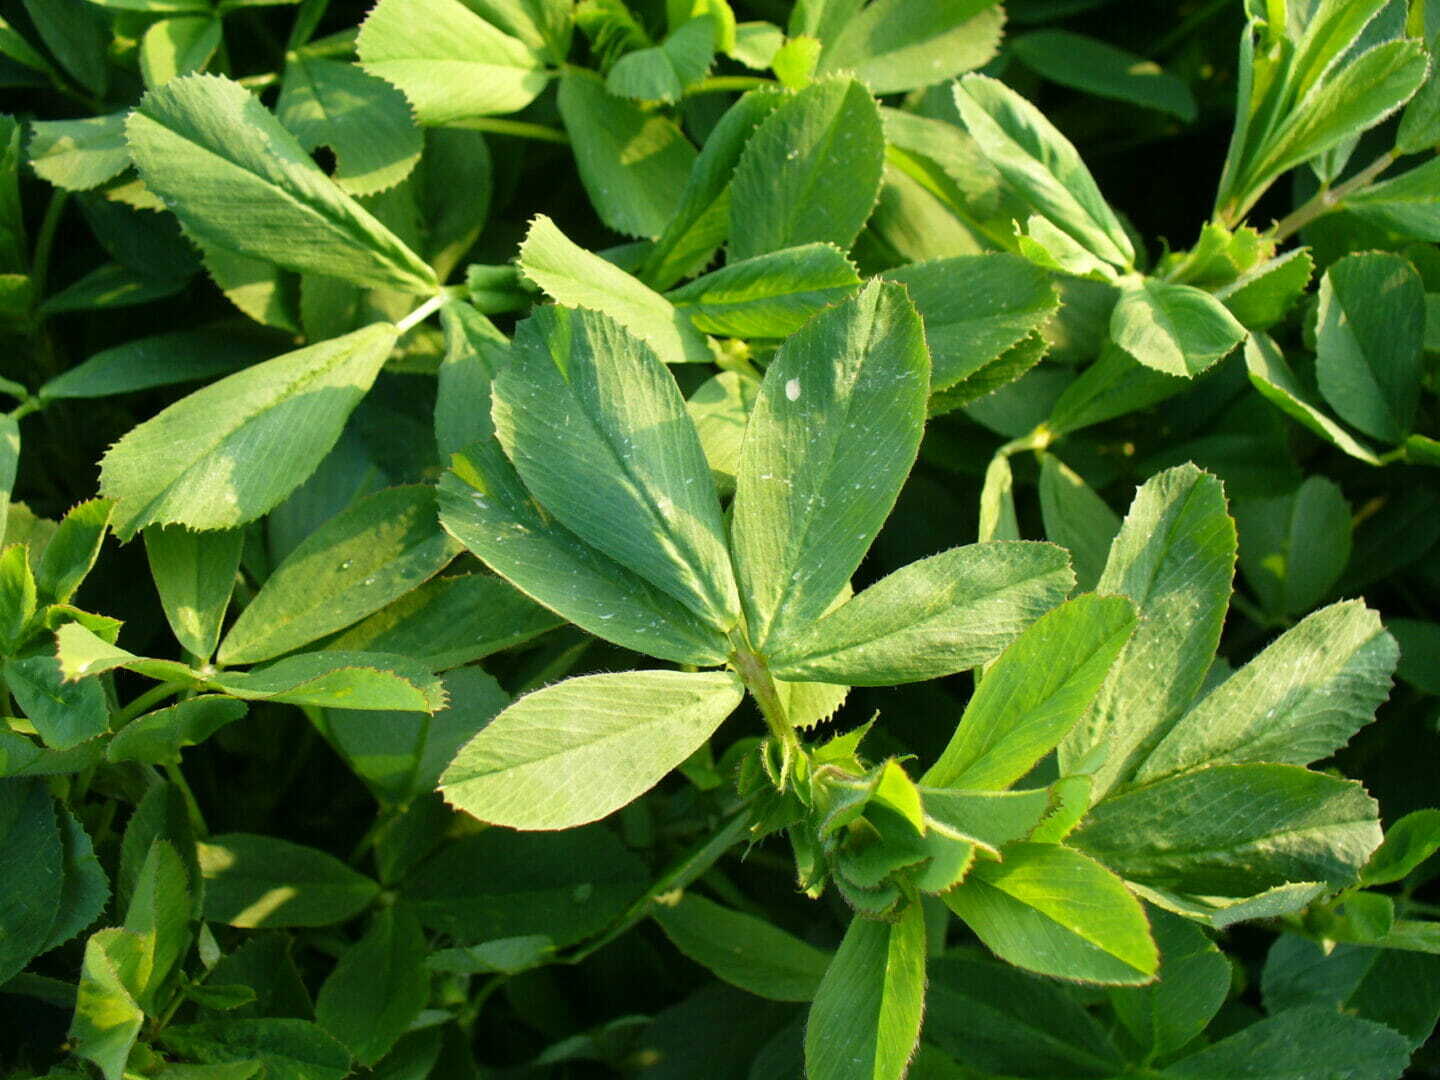
If you grow alfalfa, you have experienced winter kill.
Alfalfa winterkill is a complex matrix of many factors: variety, fertility, general stand health, previous fall weather conditions, snow cover, winter temperatures, and spring weather patterns. My own experience has proven one type of winterkill is rarer, while the other is more common.
The rarer situation occurs when conditions are ideal for the alfalfa to overwinter, but temperatures warm up in late winter or early spring and are followed by several freeze-thaw events. The rapid thaw causes the snow to melt into and around the permeable alfalfa crown and tap root. The sudden, deep freeze crystalizes that moisture around the crown. I had a case where this type of weather caused the crown to pop two to four inches out of the soil! While this is an extreme example, there was nothing anyone could have done to save this alfalfa. It was an act of nature.
The other type of winter kill also results from Mother Nature but is more subtle and common. This type of winter kill is a combination of many factors, such as a poor and/or diseased stand, a stand with low fertility, a stand that has limited insulating snow cover throughout winter months, and a cheap alfalfa variety with a lower winter hardiness score.
The effects of winterkill can be quite variable in the field due to slopes, soil types, fertility and other factors. If you see a reduced stand after spring green up, walk around the field to evaluate whether it’s time to rotate the crop.
Tips for assessing spring stands:
- Watch for green up; be patient.
- If the alfalfa isn’t greening up in some areas of field, dig roots and split them. If the average stem density is low in some areas of field but not in others, consider interseeding something as a quick rescue like Italian ryegrass. It establishes quickly, provides tonnage, is good quality and allows you to capture the value of the alfalfa that is still alive.
- Calculate yield potential and consider rotating the crop. The University of Wisconsin – Madison Extension provides a calculator to help estimate yield based on the number of stems in a square foot. Once the stem number is determined, use this formula to calculate the yield potential of that stand: Yield (tons/acre) = (Stems/ft2 x 0.1) + 0.38
For example, an alfalfa stand with 50 stems per square foot would have a yield potential of 5.38 tons per acre. Keep in mind that soil, nutrient deficiency, insects, diseases and other factors may affect the actual yield.
-
Latham Hi‑Tech Seeds
Planting Depth is Critical to Plant Performance
-
Latham Hi‑Tech Seeds
#AskTheAgronomist: Spring and In-Season Soil Sampling

Why is soil sampling important? The answers in this episode of Ask the Agronomist. #LathamSeeds
-
Latham Hi‑Tech Seeds
#AskTheAgronomist: Herbicide Carryover
Tune in on March 18 at 8 AM as we discuss how to identify and manage herbicide carryover. Phil will walk through corn and soybean rotations and provide insights on various herbicide groups. #LathamSeeds
-
Latham Hi‑Tech Seeds
Get More from Your Data
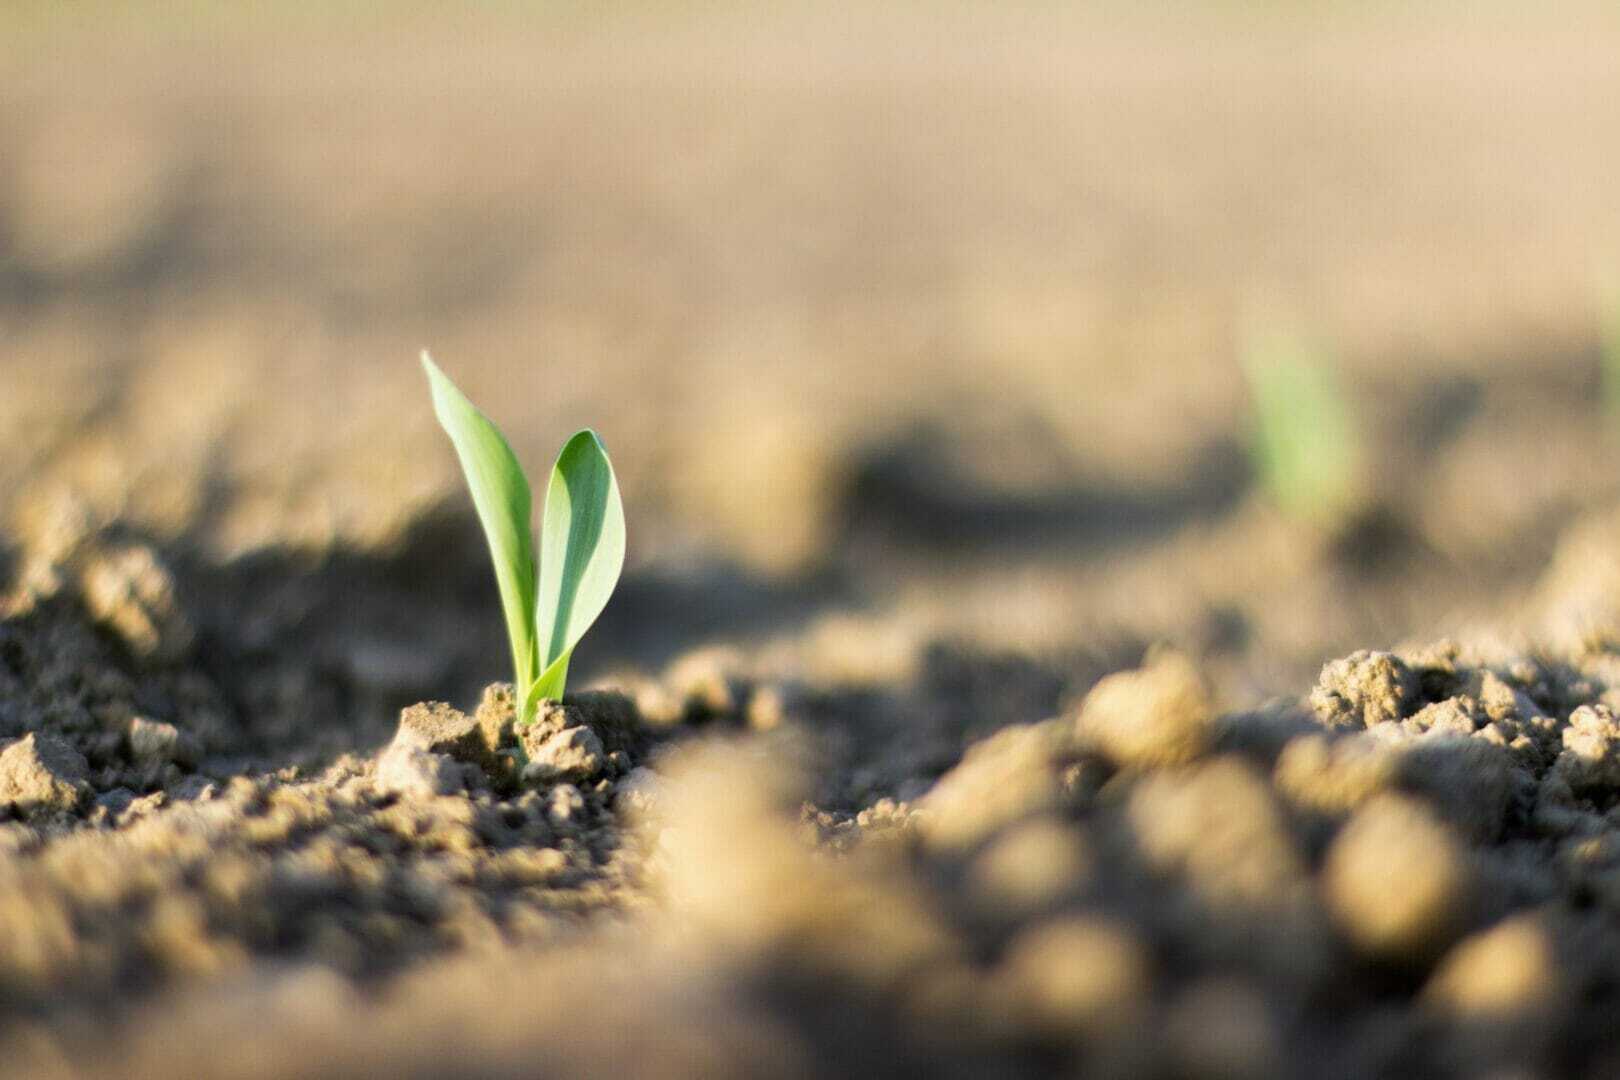
We can learn so much from the past. The Data Forward program offered by Latham Hi‑Tech Seeds makes it easier than ever to gather and organize valuable information that can be used to make crop planning decisions, equipment investments, financial decisions and more.
For example, you might be comfortable with the planter you own but would like to invest in newer technology. It might not be as costly or complicated as you think! By using Data Forward, you do not have to choose between “simple to operate” or “best performance.”
Latham’s Precision Advisors can help you consider the options. For example, you might have noticed that late-emerging plants cost you money. Maybe you want consistent singulation and consistent spacing to achieve the highest profitability. Maybe you are considering a planter capable of applying at-plant fertility. We can achieve most of these upgrades by adding them to the planter you already have.
If you are unsure how to assess best planter preparation and performance, we can help! Using your machine-generated data, we can use Data Forward to analyze your current situation. Then we can monitor your crop throughout the season, assess your yield data next fall, and help you make informed decisions for 2022.
Below is an eight-step planter checklist for your consideration.
- Test Bushings– Parallel linkage maintains a level row unit and keeps the row unit running smooth. Test your bushings by moving the row unit up and down and side to side. If there is excess play in the parallel arms, it could be a worn bushing. Replace bushings as necessary.
- Check the Meter Drive System– A kinked chain in any part of the chain system can cause erratic seed spacing. If there is any possible concern, it’s best to replace the chain. If you have cable drives, check the ends for frayed cables. Also spin the cable to make sure they spin freely.
- Level the Planter– A level planter provides the proper orientation of the no-till coulter to the opening disc and seed tube angle. Even the closing wheels won’t perform properly if not level. Hook up the planter and put a level on the main bar to ensure it is perpendicular, running slightly uphill.
- Calibrate Meters– It’s always good practice to have your meters inspected and calibrated annually on a meter stand.
- Create a Proper Seed Trench– Double disk openers require a solid point of contact to create a perfect seed trench. Check your disc openers every season to see if replacement discs or shimming is necessary.
- Inspect Seed Tubes– Inspect your seed tubes for wear at the bottom the tube. Worn out or cracked seed tubes could cause seed ricochet and erratic seed placement in the furrow. There are seed tube replacement options with carbide tips to prevent wear from happening.
- Look at Gauge Wheels– Gauge wheel arms take a lot of stress. With the planter in transport position, raise the gauge wheel up and look at the tolerance between the edge of the gauge wheel and the opening disc. If the gap is large enough to fit your fingers in, you may need to look at adjusting the gauge wheel arm or even replacing.
- Align Closing Wheel– Be certain your closing wheels are centered over the seed trench. One way
to check this is to lower the planter onto the concrete and pull forward about a foot. The disc openers should leave a mark on the concrete to gauge your closing wheel alignment.
-
Latham Hi‑Tech Seeds
Product Placement is Key to Success
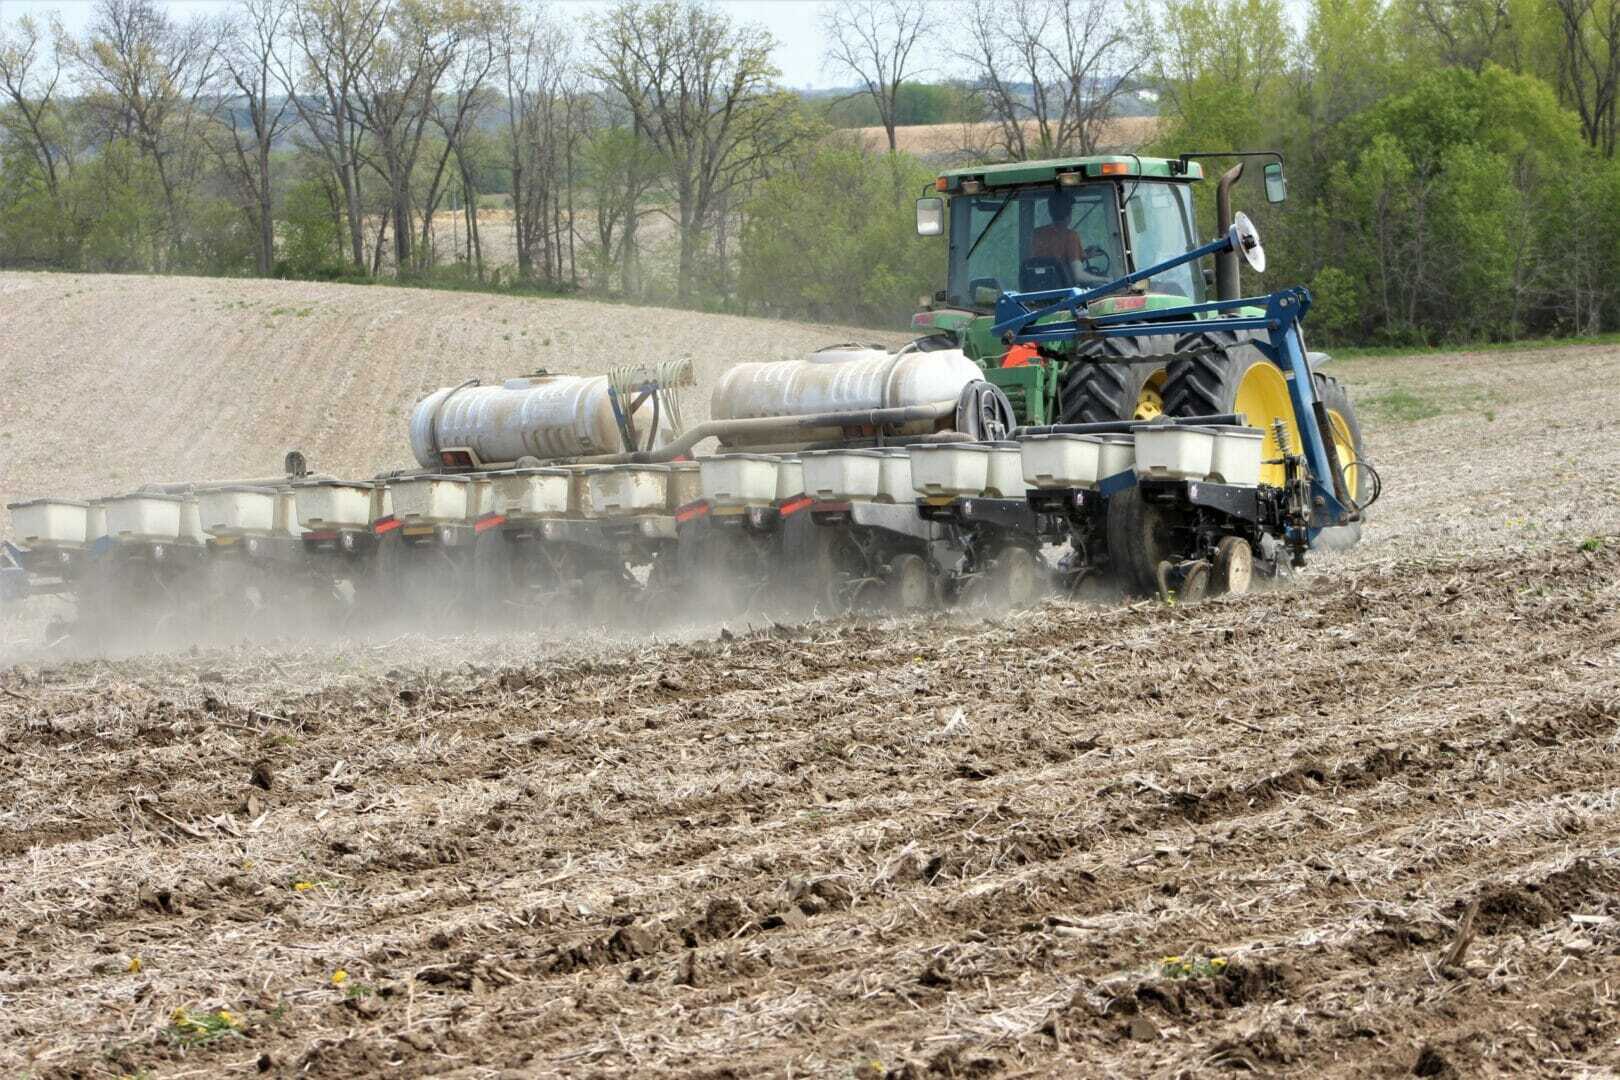
Planting a product in the field it was chosen for creates the greatest success.
We spend a lot of time at Latham Hi‑Tech Seeds working with our dealers and customers on the proper placement of our products in their fields. The suggestions we offer in our product guide and tech sheets provide a great amount of detail. In addition, our product team members offer face-to-face support for these recommendations while giving tours to dealers and customers throughout the season.
A Field x Field™ recommendation for your farm creates optimum performance opportunities for the Latham® products you purchased. Our Field x Field guide can either be a paper document provided by your dealer or an electronic version inside your Data ForwardSM App that your dealer or one of our precision agronomists helped you design.
Now that you have this detailed plan, what steps can you take to implement it accurately? Here are a few suggestions to help execute your plan:
- Review your plan and be sure it matches each field.
- Did you add a field that needs seed? If so, contact your Latham dealer to get a plan for that field and seed ordered.
- Take delivery of your seed early. Document that you have all the products and correct volume of each to match your plan for each field.
- Sort your seed purchases by field.
- Label where you plan to plant the seed, the seeding rate and suggested timing.
Before planting starts, gather everyone on your team who helps with planting. Review the crop plan with them. Be sure everyone understands the importance of planting each product in the correct field.
Following the steps listed above will help ensure the time spent building your crop plan with your Latham dealer or RSM was time well spent. A well-executed plan can add value to your operation in 2021.
